
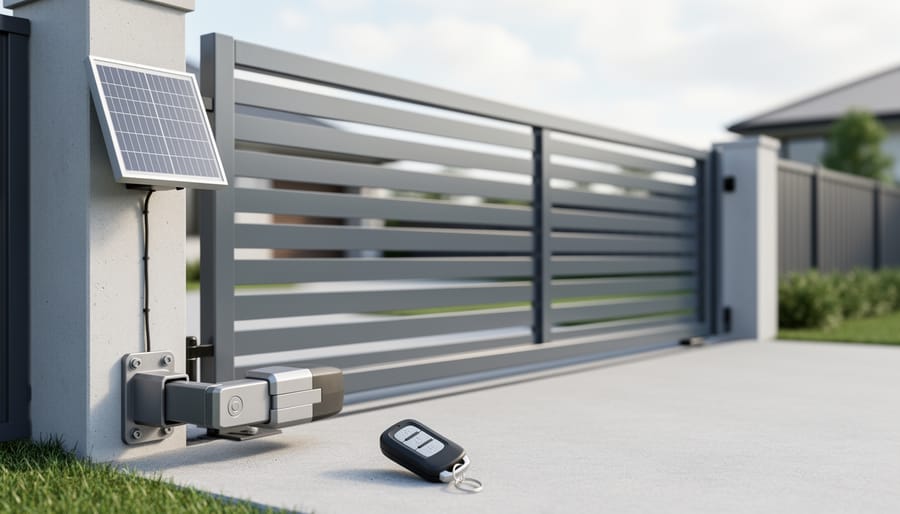
You can install a solar gate opener kit yourself in about four to six hours with basic tools and no electrical wiring experience required. The process involves mounting the solar panel, securing the opener mechanism to your gate, connecting the battery and control board, and testing the system to ensure smooth operation.
Solar gate openers have become a practical solution for properties where running electrical lines to the gate would be expensive or impossible. The self-contained system uses a solar panel to charge an onboard battery that powers the motor, meaning you’ll have reliable automated access without trenching your driveway or hiring an electrician. Most kits come with everything you need: the opener motor, solar panel, rechargeable battery, mounting hardware, and a wireless remote control.
The installation is straightforward enough for confident DIYers, though you’ll want help lifting and positioning components. The biggest challenge is usually ensuring your gate swings freely and that the solar panel gets adequate sunlight throughout the day. Shaded panels won’t generate enough power to keep the battery charged, especially during winter months or periods of heavy use.
Before you begin, check that your gate is structurally sound and swings smoothly on its hinges. A binding or sagging gate will strain the motor and drain the battery quickly. You’ll also need to decide whether you’re installing a single or dual gate system, as this affects mounting positions and the number of opener arms required. With proper installation, your solar gate opener should provide years of reliable service while giving you the convenience of automated entry and the peace of mind that comes with secured property access.
What You’ll Need: Tools and Materials for Your Solar Gate Opener Installation
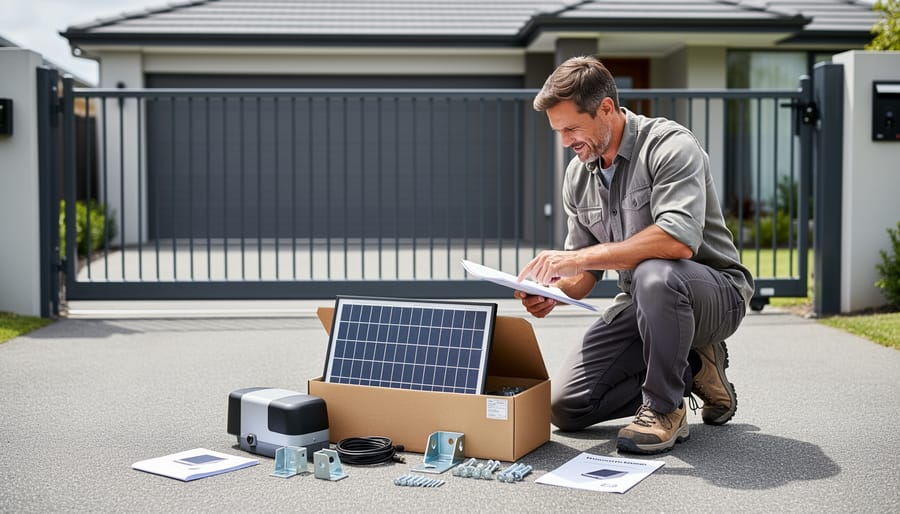
Getting organized before you begin makes the entire installation smoother and helps you work confidently from start to finish. The good news is that most of what you need is probably already in your garage or toolbox, and the specialized components come together in your solar gate opener kit. Let’s walk through everything you’ll need to have ready before starting your project.
Your solar gate opener kit arrives with the essential specialized components. Inside the box, you’ll find the solar panel with mounting brackets, a deep-cycle battery designed to store solar energy, the gate opener motor and drive mechanism, the control board that manages operation, all necessary mounting hardware and fasteners, and installation instructions specific to your model. Check that everything listed on the packing slip is present before you begin, and contact the manufacturer immediately if anything is missing.
For basic tools, you likely have most of these already:
- Power drill with bits suitable for your gate material (wood, metal, or masonry)
- Set of wrenches or socket set for securing mounting bolts
- Wire strippers and wire cutters for electrical connections
- Level to ensure proper alignment of the motor and panel
- Measuring tape and pencil for marking installation points
- Screwdriver set (both flathead and Phillips)
- Safety glasses and work gloves
Several optional items can make your installation easier and more professional. A voltage tester helps verify electrical connections safely. Cable ties or wire clamps keep wiring neat and protected. Silicone sealant weatherproofs connection points. A step ladder or stable platform is essential if your solar panel mounts above comfortable standing height. Some installers appreciate having a helper available, especially when positioning and securing the motor assembly, though the job is manageable alone with patience.
Gathering everything in advance means you won’t need to stop mid-project to search for a missing tool or make an unexpected hardware store run. This preparation is part of working smart, and it sets you up for a successful, frustration-free installation day.
Safety First: Important Precautions Before You Begin
Taking a few smart precautions before you start your solar gate opener installation makes the whole process safer and more enjoyable. This isn’t about scaring you away, it’s about setting you up to work confidently and protect yourself and anyone nearby.
First, respect the electrical components. Even though you’re working with low-voltage DC power from a solar panel and battery, incorrect connections can still damage equipment or create sparks. Always disconnect the battery before making wiring changes, double-check polarity markings, and never work on connections during rain or when components are wet.
If you’re mounting your solar panel on a roof, pole, or elevated surface, take working-at-height seriously. Use a sturdy ladder with someone to spot you, wear non-slip shoes, and consider professional help if you’re uncomfortable with heights. The OSHA solar fall hazards guidelines remind us that even small elevation work requires attention to secure footing and proper equipment.
Your gate itself presents mechanical hazards. It’s heavy, moves with force, and has pinch points where parts meet. Wear work gloves, keep fingers away from hinges and moving parts, and never stand directly in the gate’s path during testing.
Weather matters too. Avoid installation during rain, high winds, or extreme heat that makes metal components too hot to handle safely. Pick a clear, mild day when you can work comfortably and see what you’re doing.
Finally, know when to call a professional. If your gate requires structural modifications, if you encounter unfamiliar wiring, or if you simply feel uncertain at any point, reaching out for help is the smart, responsible choice. Completing this project safely means you’ll enjoy the results for years to come.
Step-by-Step: Installing Your Solar Gate Opener
Preparing Your Gate and Choosing the Best Location
Before you mount a single bracket, walk around your gate and take stock of what you’re working with. Is it a swing gate that opens inward or outward, or a sliding gate that moves along a track? This matters because swing gates need clearance space and typically mount the motor on a post or wall near the hinge side, while sliding gates require the motor positioned along the track path.
Measure the distance from your gate’s pivot point (for swing gates) or track (for sliding gates) to the nearest sturdy mounting surface. You’ll need a solid, level spot within the motor’s reach, usually 3 to 6 feet depending on your kit’s specifications. Check your installation manual for the exact clearance requirements.
Now look up. Your solar panel needs unobstructed sunlight for most of the day, ideally facing south if you’re in the northern hemisphere. Walk the area during different times of day if possible, noting where shadows fall from trees, buildings, or fences. Even partial shade can reduce charging efficiency.
Clear away any debris, overgrown plants, or obstacles from both the motor mounting area and the gate’s full swing or slide path. A little preparation now prevents frustrating surprises mid-installation. Mark your chosen mounting spots with chalk or tape, seeing the layout helps you visualize the finished system and catch potential issues before drilling begins.
Mounting the Solar Panel and Motor Assembly
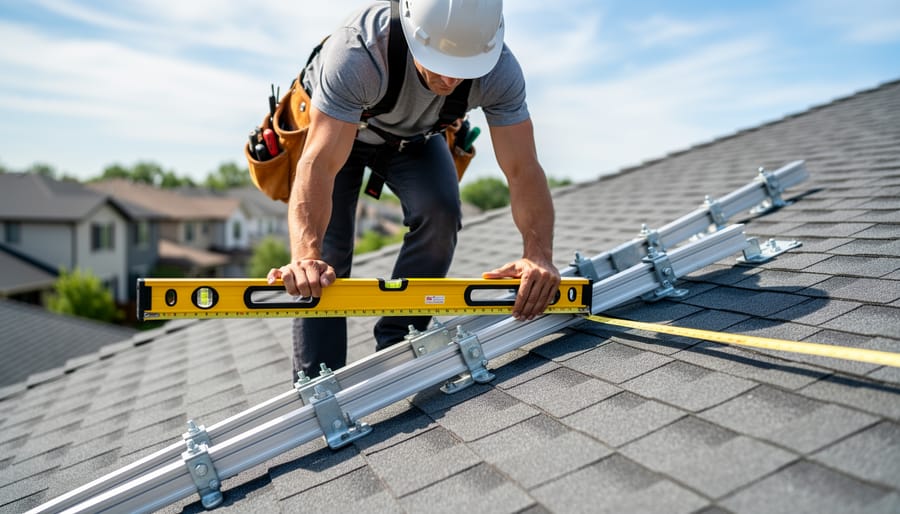
Start with the solar panel bracket. Position it on the post or wall where your assessment identified the best sun exposure, typically facing south in North America, angled at roughly 30 to 45 degrees. Hold the bracket in place and mark your drilling points with a pencil. Drill pilot holes slightly smaller than your mounting screws to prevent wood splitting or ensure solid anchoring in masonry. Attach the bracket firmly, checking it with your level before tightening completely. A stable bracket prevents vibration and maintains optimal panel angle through wind and weather.
Next, secure the solar panel to the bracket according to your kit’s instructions, most use thumb screws or clips for tool-free adjustments later. Double-check the panel sits level and tight.
Now mount the motor assembly to your gate post. Position it at the height specified in your kit manual, usually aligned with the gate’s center rail for balanced operation. Mark drilling points, create pilot holes, and bolt the motor firmly in place. The motor must be completely level, check both horizontal and vertical planes, because even slight tilting affects how smoothly your gate travels and can strain the mechanism over time.
Test the motor bracket by hand before proceeding. It should feel rock-solid with zero wiggle. Loose mounting causes premature wear and noise. This careful fastening now saves frustration later.
Connecting the Electrical Components
Connecting the electrical parts might feel intimidating, but you’re just making simple, secure connections, one wire at a time. Work slowly, double-check each step, and you’ll have everything powered up safely.
Start with the solar panel. You’ll see two wires, typically marked positive (red) and negative (black). Match these to the corresponding terminals on your battery, red to positive, black to negative. Polarity matters here: reversed connections can damage components, so take a moment to verify before tightening. Use the provided connectors or wire nuts, and make sure each connection is snug. No loose wires means no power loss or safety hazards.
Next, connect the battery to the control board. Again, follow the color coding. Your control board will have clearly labeled battery input terminals. Route the wires neatly, avoiding sharp edges that might cut through the insulation over time. Most kits include zip ties, use them to keep wiring organized and protected.
Now link the motor to the control board. Your motor will have its own wire leads, usually with a connector that plugs directly into the board. Consult your kit’s diagram for the exact port, it’s typically labeled “motor” or “M1.”
Finally, weatherproof all outdoor connections. Wrap exposed wire junctions with electrical tape, then apply silicone sealant or slide on heat-shrink tubing if provided. This protects against moisture, which is the enemy of reliable operation. Take your time here, good weatherproofing now prevents frustrating failures later.
Programming and Initial Testing
With all components connected, it’s time to bring your solar gate opener to life. This step transforms installed hardware into a functioning system tailored to your needs.
Start by powering on the control board, you’ll typically find an on/off switch or circuit breaker. Most units emit a beep or display a light to confirm power. Consult your kit’s manual for the specific button sequence to enter programming mode, usually holding a “learn” or “set” button for a few seconds.
To program your remote controls, press the learn button on the control board, then immediately press the button on your remote. The board should beep or flash to confirm pairing. Repeat for additional remotes. If you’re setting up keypad access codes, follow the manufacturer’s sequence to enter your chosen digits, pick something memorable but not obvious.
Next, adjust operational settings. Most control boards let you modify opening and closing speeds using dial controls or button sequences. Start with medium settings, then fine-tune after testing. Force adjustment is crucial for safety: set it high enough to move the gate smoothly but low enough that it stops if it meets resistance, protecting people, pets, and vehicles.
Now run your first test cycle. Press the remote and watch the gate complete a full open-and-close sequence. Listen for smooth operation without grinding or hesitation. The gate should stop cleanly at fully open and fully closed positions. Make small adjustments as needed until movement feels controlled and responsive.
Testing Your Installation: How to Verify Everything Works Properly
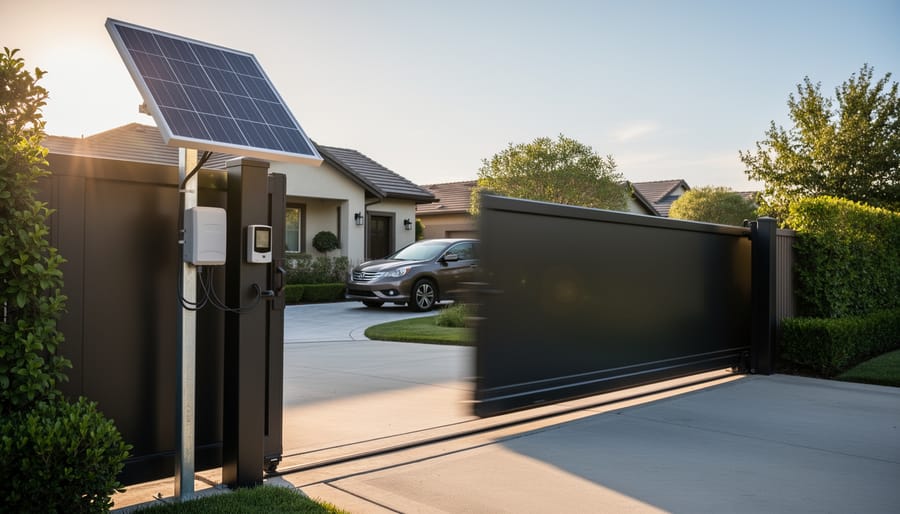
With your solar gate opener installed, testing is where you confirm everything works as it should and catch any adjustments needed before you rely on the system daily. This verification process takes about 30 minutes and ensures your gate operates safely and reliably.
Start with a basic operation test. Use your remote control to open and close the gate three to four times, watching for smooth, steady movement without jerking or unusual sounds. The gate should travel the full distance at a consistent speed and stop cleanly at both endpoints. If movement seems hesitant or the motor strains, you may need to adjust the force settings on the control board.
Next, verify your safety sensors are functioning properly. Place an object like a cardboard box in the gate’s path and trigger a close cycle. The gate should stop immediately when the sensor detects the obstruction and reverse direction. Test this at different points along the gate’s travel path. If sensors don’t respond, check that they’re aligned and connections are secure.
Check the battery charging system by observing the indicator light on the control board, which typically shows green when the battery is receiving charge from the solar panel. On a sunny day, you should see charging activity within an hour of completing installation. The battery will power your gate during cloudy periods and overnight, so confirming it charges properly is essential.
Run tests at different times of day to ensure consistent performance. Open and close the gate in morning light, full afternoon sun, and evening to confirm the system handles varying conditions. It’s normal to make small adjustments to opening speed, closing force, or delay timings based on these tests.
If you replaced an old gate system during this installation, consider how to dispose old materials responsibly, or if components are still functional, donate usable items to help others in your community.
Common first-time issues have simple fixes. If the gate opens but won’t close, check your limit switch settings. If operation seems sluggish, verify all mounting bolts are tight and the gate isn’t binding on its track. Inconsistent remote response usually means you need to reprogram the remote or check for interference from nearby electronics.
When your gate completes ten consecutive open-close cycles smoothly, safety sensors respond correctly, and the battery shows charging activity, you’ve successfully installed your solar gate opener. Congratulations on completing a project that adds both convenience and value to your home.
Common Questions About Solar Gate Opener Installation
How long does installation typically take?
Most homeowners complete a solar gate opener installation in 4 to 6 hours, though your first time might stretch to a full day. The actual work isn’t complicated, but taking time to position components correctly and test thoroughly makes all the difference. If you’re also getting rid of debris or clearing the gate area beforehand, budget extra time for preparation.
Do I need to hire an electrician?
No, you don’t need a licensed electrician for a solar gate opener. These systems use low-voltage DC power from the solar panel and battery, which is much safer than household AC current. The connections are straightforward plug-and-play or clearly marked terminals. That said, if you’re uncomfortable working with any electrical components or your local regulations require permits for gate automation, consulting a professional gives you peace of mind.
What if my gate doesn’t get full sun all day?
Solar panels can still charge effectively with 4-6 hours of direct sunlight. The battery stores power for cloudy periods and nighttime use, so partial shade usually isn’t a problem.
How do I maintain the system once it’s installed?
Wipe the solar panel clean every few months, check wire connections annually, and lubricate gate hinges as needed. Most systems require minimal maintenance beyond keeping the panel free of leaves and snow.
What happens on cloudy days or during winter?
The battery keeps your gate operating through several days of cloudy weather. In winter, clear snow from the panel and angle it more vertically to catch lower sun angles for better charging.
Can I install this on any type of gate?
Solar gate opener kits work with most swing gates and many sliding gates, but weight matters. Check your kit’s weight rating against your actual gate weight. Heavy wrought iron gates might need a more powerful motor, while lighter vinyl or aluminum gates work with standard kits. The mounting surface also needs to be solid enough to support the motor securely.
What if something goes wrong during installation?
Most issues are simple fixes. If the gate won’t respond, double-check battery connections and ensure the solar panel is actually charging. Remote problems usually mean reprogramming or replacing batteries in the handset. The control board typically has LED indicators that show what’s working and what needs attention, making troubleshooting straightforward even for beginners.
You’ve just completed a project that brings real, lasting value to your home. Your solar gate opener now works on nature’s power, cutting energy costs while giving you reliable, hands-free access every single day. You’ve gained independence from the grid, added a layer of security to your property, and proven that meaningful home improvements don’t always require a professional’s price tag.
This installation represents more than just a functional upgrade. It shows what’s possible when you invest a few hours into making your living space work better for you and your family. Whether you’re creating a more secure environment for children, making daily routines easier for aging parents, or simply taking pride in a job well done, you’ve demonstrated the kind of self-reliance that builds stronger, more comfortable homes.
If you have old gate hardware or other items you’d like to clear out after your upgrade, you can book a pickup with services that ensure usable items reach families who need them. Every improvement you make, and every thoughtful decision about what happens to what you replace, contributes to building a community where everyone has access to safe, functional homes.