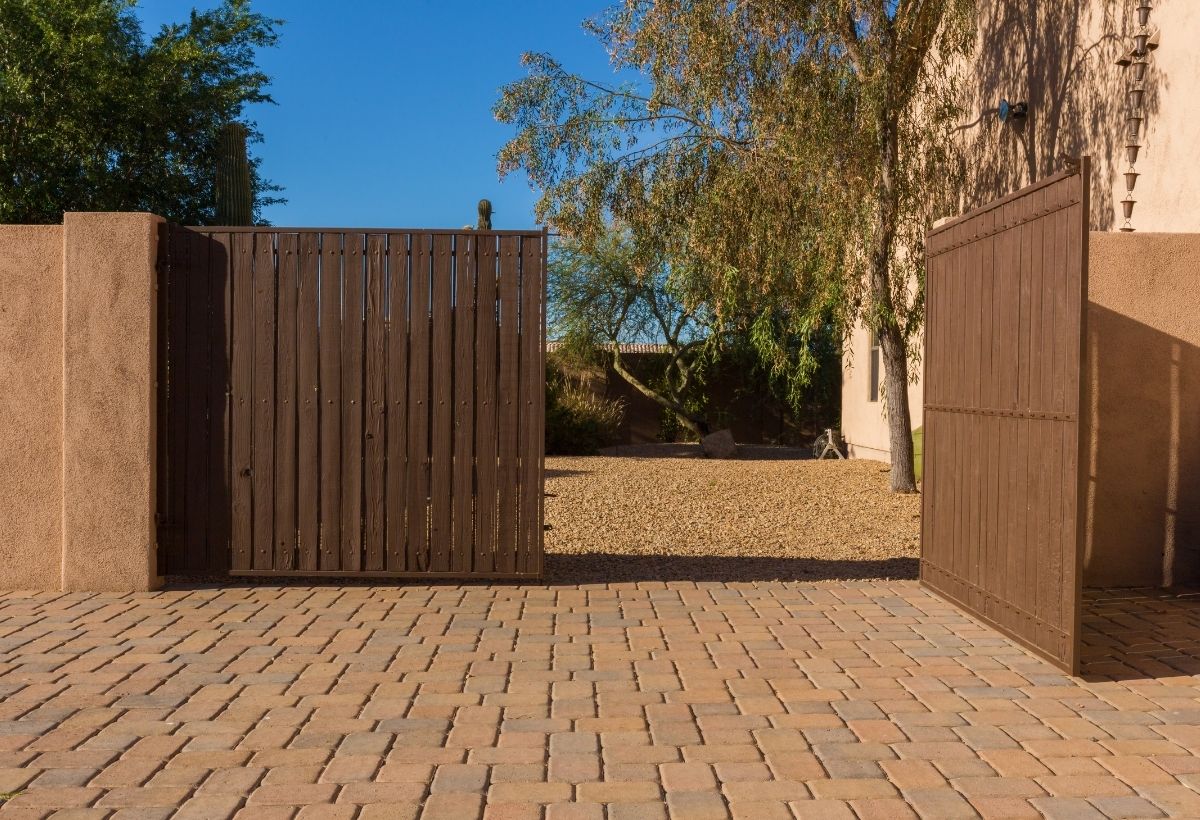
Solar gate openers are a testament to the progress the manufacturers of solar technologies have made so far. They function just like the standard gate openers. However, the difference is that they are much more affordable because there’s no monthly energy bill to pay.
Admittedly, installing a solar gate operator is easier than many people think. The installation process is all about setting up the panel and attaching the wires to the control box.
This article will discuss the installation process in detail, using the various steps to guide you along the way so you can do it yourself. Depending on the brand, there might be slight variations in the installation process.

Solar Gate Installation Kit
The following should be part of your solar gate opener kit:
- Curved pipe
- M8 bolts
- Solar panels
- Wire nuts
- M8 nuts
- Pipe clamps
- Compass
- Lag bolts
- Flathead screwdriver
- ½” tappet wrench
- Metal screws (optional)
The Installation Process
Step 1: Attach the Solar Panel on the Mount
- Turn the panel to the back and attach the M8 bolts beneath the holes on the frame. This ensures that the threaded part will pass through the frame.
- Position the curved pipe between the M8 bolts.
- Place two pipe clamps on the curved pipe and the bolts.
- Place the nuts on the curved pipe and the bolts and tighten them.
Step 2: Choose a suitable Spot to Set Up the Panel
- Pick a spot with a very good exposure to the sun (with no obstruction or shades to shield the panel from getting sunlight).
- Position the panel to face south. For those in the southern hemisphere, the panel should face north.
Step 3: Set up the Panel
- Mount the panel using the curved pipe.
- Use slight adjustments to ensure that the mount has excellent exposure to sunlight.
- Use both pipe clamps and the lag bolts to secure the panel in place (Pipe clamps and lag bolts are meant for wooden posts and fences. If you have metal posts, use metal screws instead).
Step 4: Attach the Panel to the Gate Control Box
- Switch off the control box.
- Connect the panel wiring to the terminals of the control box (the black wire should go to the negative terminal, and the red wire should go to the positive terminal).
- Use an extension cord if the spot you’re installing your solar panel is not near to your control box.
Solar Gate Opener Installation and Operation Tips
Depending on the brand of the gate opener you’re installing, you may need a different cable as an extension cord. Don’t worry; the recommended cable will be stated in your instructions manual.
The panel needs at least 6 hours of good sunlight to charge fully. The solar gate opener can still function even on a partial charge but for a shorter time.
What Can Go Wrong After Installation?
The following can cause issues for your solar gate operator after installation:
- Faulty wiring or attachment to the control box terminals
- Dirt coating on the panel
- Little or no sunlight (because of the positioning of the panel or the weather).
Aside from these issues, your solar gate opener is virtually problem-free.
